Tired of the high cost of commercial cat litter? Want to create a more sustainable and eco-friendly option for your feline friend? Making your own cat litter is a rewarding and cost-effective project.
In this blog post, we’ll explore:
- DIY cat litter options: Discover various materials you can use to create your own cat litter.
- The process: Learn the steps involved in making your own cat litter.
- Benefits of homemade cat litter: Understand the advantages of using homemade cat litter.
- Tips for success: Get helpful advice for making high-quality cat litter.
Whether you’re a seasoned DIY enthusiast or a beginner, this guide will provide you with valuable information to help you create a safe and effective cat litter for your furry companion.
What Is Cat Litter
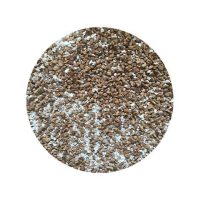
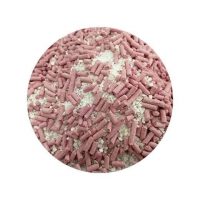
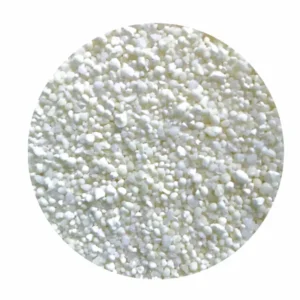
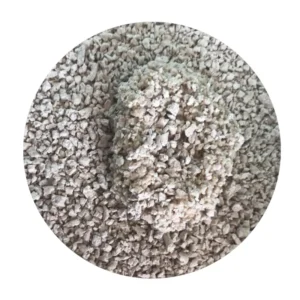
Cat litter is a material used in cat litter boxes to absorb moisture, control odors, and provide a comfortable environment for cats to eliminate waste. It typically comes in various forms, such as:
- Clay-based: Made from clay minerals, which are absorbent and effective at controlling odors.
- Silica gel: A synthetic material known for its absorbent properties.
- Corn or wheat-based: Made from plant-based materials, offering a biodegradable and natural option.
- Recycled paper: Made from recycled paper, providing an eco-friendly choice.
The choice of cat litter often depends on factors such as cost, effectiveness, and personal preferences.
How to Make Cat Litter

Creating your own cat litter can be a rewarding and cost-effective project. It’s also a great way to reduce your environmental impact and provide a safe and healthy environment for your feline friend.
Steps about cat litter manufacturing process:
Step 1. Choose a Base Material
- Newspaper: Shredded newspaper is a readily available and affordable option. However, it may not be as absorbent as other materials.
- Wood shavings: Aspen shavings are a popular choice for their absorbency and odor control. They are also biodegradable and environmentally friendly.
- Corn or wheat: These grains can be ground into a fine powder for use as cat litter. They are also biodegradable and can be a good option for cats with allergies or sensitivities.
- Coconut coir: A natural fiber derived from coconut husks, coconut coir is highly absorbent and has good odor control properties.
Step 2. Prepare the Material
- Shredding or grinding: Use a shredder or food processor to break down the chosen material into small pieces. The smaller the particles, the better the absorption.
- Drying: If the material is wet, allow it to dry completely before using it as cat litter.
Step 3. Add Optional Additives
- Baking soda: Baking soda is a natural deodorizer that can help to control odors in your cat’s litter box.
- Essential oils: Some essential oils, such as lavender or citrus, can add a pleasant scent to your cat’s litter. However, be sure to choose oils that are safe for cats and avoid using excessive amounts.
- Activated charcoal: Activated charcoal is a highly absorbent material that can help to control odors and remove impurities from the litter.
Step 4. Combine the Ingredients
- Mix thoroughly: Combine the base material with any additives you’ve chosen. Ensure that the ingredients are evenly mixed.
Step 5. Test the Litter
- Absorbency test: Place a small amount of the homemade litter in a clean container and add a small amount of water. If the litter clumps well and absorbs the moisture, it’s ready to use.
- Odor control test: If you’ve added baking soda or essential oils, test the litter’s ability to control odors.
Step 6. Introduce the Litter to Your Cat
- Gradual introduction: Start by mixing a small amount of the homemade litter with your cat’s current litter. Gradually increase the proportion of homemade litter over several days until your cat is using it exclusively.
- Monitor your cat: Keep an eye on your cat’s behavior to ensure they are comfortable with the new litter. If your cat shows signs of discomfort or avoids the litter box, you may need to try a different type of homemade litter.
By following these steps, you can create a safe and effective homemade cat litter that will save you money and help reduce your environmental impact.
How to Make Bentonite Cat Litter

Bentonite cat litter is a popular choice among pet owners due to its excellent absorption and odor control properties. While you can purchase commercial bentonite cat litter, it’s also possible to make your own at home.
Steps to Make Bentonite Cat Litter
- Obtain Bentonite Clay: Purchase food-grade bentonite clay from a reputable supplier.
- Prepare the Clay: Break up the clay into smaller pieces using a hammer or mallet.
- Add Water: Gradually add water to the clay, stirring constantly until it forms a thick, dough-like consistency. The amount of water needed may vary depending on the type of bentonite clay you’re using.
- Let it Set: Allow the mixture to sit for several hours or overnight to allow the clay to absorb the water and set.
- Dry the Litter: Spread the dried clay out in a thin layer on a baking sheet or other flat surface. Allow it to dry completely in a warm, dry place. This may take several hours or even days.
- Grind the Litter: Once the clay is completely dry, grind it into a fine powder using a mortar and pestle or a food processor.
- Test the Litter: Before using the homemade bentonite cat litter, test it to ensure it’s absorbent and effective at controlling odors.
- Store the Litter: Store the homemade bentonite cat litter in a cool, dry place.
Tips:
- Consistency: The consistency of the homemade bentonite cat litter should be similar to commercial cat litter. If it’s too dry, it may not absorb moisture effectively. If it’s too wet, it may clump too much.
- Odor Control: You can add essential oils or baking soda to the homemade cat litter to enhance odor control.
- Safety: Always wear gloves and a mask when handling bentonite clay to protect yourself from dust inhalation.
Remember: While making your own bentonite cat litter can be a rewarding DIY project, it’s important to ensure the quality and safety of the final product. If you have any concerns, it’s always a good idea to consult with a veterinarian or a pet care expert.
Conclusion
Creating your own cat litter can be a rewarding and cost-effective project. It allows you to have complete control over the ingredients and ensure that your cat is using a safe and healthy product.
Remember:
- Choose a suitable base material: Consider newspaper, wood shavings, corn, wheat, or coconut coir.
- Prepare the material properly: Shred or grind it and ensure it’s dry before use.
- Add optional additives: Baking soda, essential oils, and activated charcoal can enhance odor control and absorption.
- Test the homemade litter: Ensure it’s absorbent and effective before using it.
- Introduce the litter gradually: Mix the homemade litter with your cat’s current litter to help them adjust.
By following these steps, you can create a high-quality cat litter that meets your cat’s needs and your budget.
Are you interested in purchasing high-quality cat litter instead of making your own?
Contact us today to get a quote for our wholesale cat litter products. We offer a wide variety of options to suit your needs, including clay, silica gel, and natural alternatives.
Let us help you provide your feline friends with the best possible care.


