
A cat litter clump strength test should answer a simple question: will the clump survive the way a customer actually scoops it? Watching liquid disappear is not enough. A litter can absorb quickly and still leave a soft centre, stick to the tray, or break into dirty fragments.
Wholesale buyers do not need an expensive laboratory to run a useful first comparison. They do need a repeatable method. When every sample is tested with the same depth, liquid amount, setting time, and scoop, differences become much easier to see.
Decide what the test needs to prove
Clump strength is not one characteristic. Buyers usually care about several connected results:
- How quickly a scoopable clump forms
- Whether the centre is firm or still wet
- Whether the clump lifts without breaking
- How much residue remains in the tray
- Whether the clump sticks to the bottom
- How much clean litter is removed with it
A fast surface reaction may look good in a video, but retail performance depends on the complete result. Write these criteria down before opening the samples.
Use identical equipment for every sample
Prepare identical shallow trays, one scoop style, a measuring cup or syringe, a timer, a ruler, and a simple kitchen scale. Use water for an initial comparison; a manufacturer may use a standardized test liquid for formal quality control.
Label the trays outside the camera frame or use sample codes. The same person should perform each test when possible, because pouring and scooping technique can change the outcome.
Run the test in a room with stable temperature and humidity. Plant-based litter can absorb moisture from the air, so a sample left open for days should not be compared directly with a newly opened bag.
Control the litter depth
Litter depth changes clump shape and tray sticking. A deep bed gives the material more room to surround liquid before it reaches the bottom. A shallow bed can expose weaknesses much sooner.
Choose a normal consumer depth and measure it in every tray. After the standard test, repeat at a slightly lower depth to see how the product behaves when customers do not refill perfectly.
Do not add extra litter around a weak sample. The purpose is comparison, not producing the most attractive clump.
Measure the liquid and application height
Use the same liquid volume for each test. Apply it from the same height and at the same rate. Pouring very slowly can create a different clump from releasing the liquid quickly in one spot.
Place the liquid away from the tray wall so the clump forms within the litter. Test several points rather than using the same disturbed area repeatedly.
For product development, more than one liquid volume is useful. A small test shows how the litter handles ordinary spots, while a larger volume reveals spreading and bottom contact.
Test more than one setting time
Customers scoop on different schedules. Some remove a clump soon after use, while others scoop morning and evening. Test at several practical intervals, such as a short set, a medium set, and a longer set.
Record when the clump first becomes liftable. Then note whether it continues to strengthen or becomes sticky. A formula that is excellent only after a long wait may disappoint customers who scoop immediately.
Avoid describing clumping speed without defining the test. A claim such as fast clumping is meaningful only when the buyer and supplier agree on what counts as formed.
Scoop in the same way every time
Insert the scoop at the same angle and move at a steady speed. Lift the clump fully above the tray, pause, and gently tilt the scoop. Do not cradle a weak clump with surrounding litter.
Watch for cracks, broken corners, and fine wet pieces falling through the slots. Photograph the clump before lifting and after the movement. The second image is usually more useful.
If the clump breaks, weigh or estimate the retained portion. For routine buyer testing, a simple rating can work: intact, minor breakage, major breakage, or collapse.
Check the tray after removal
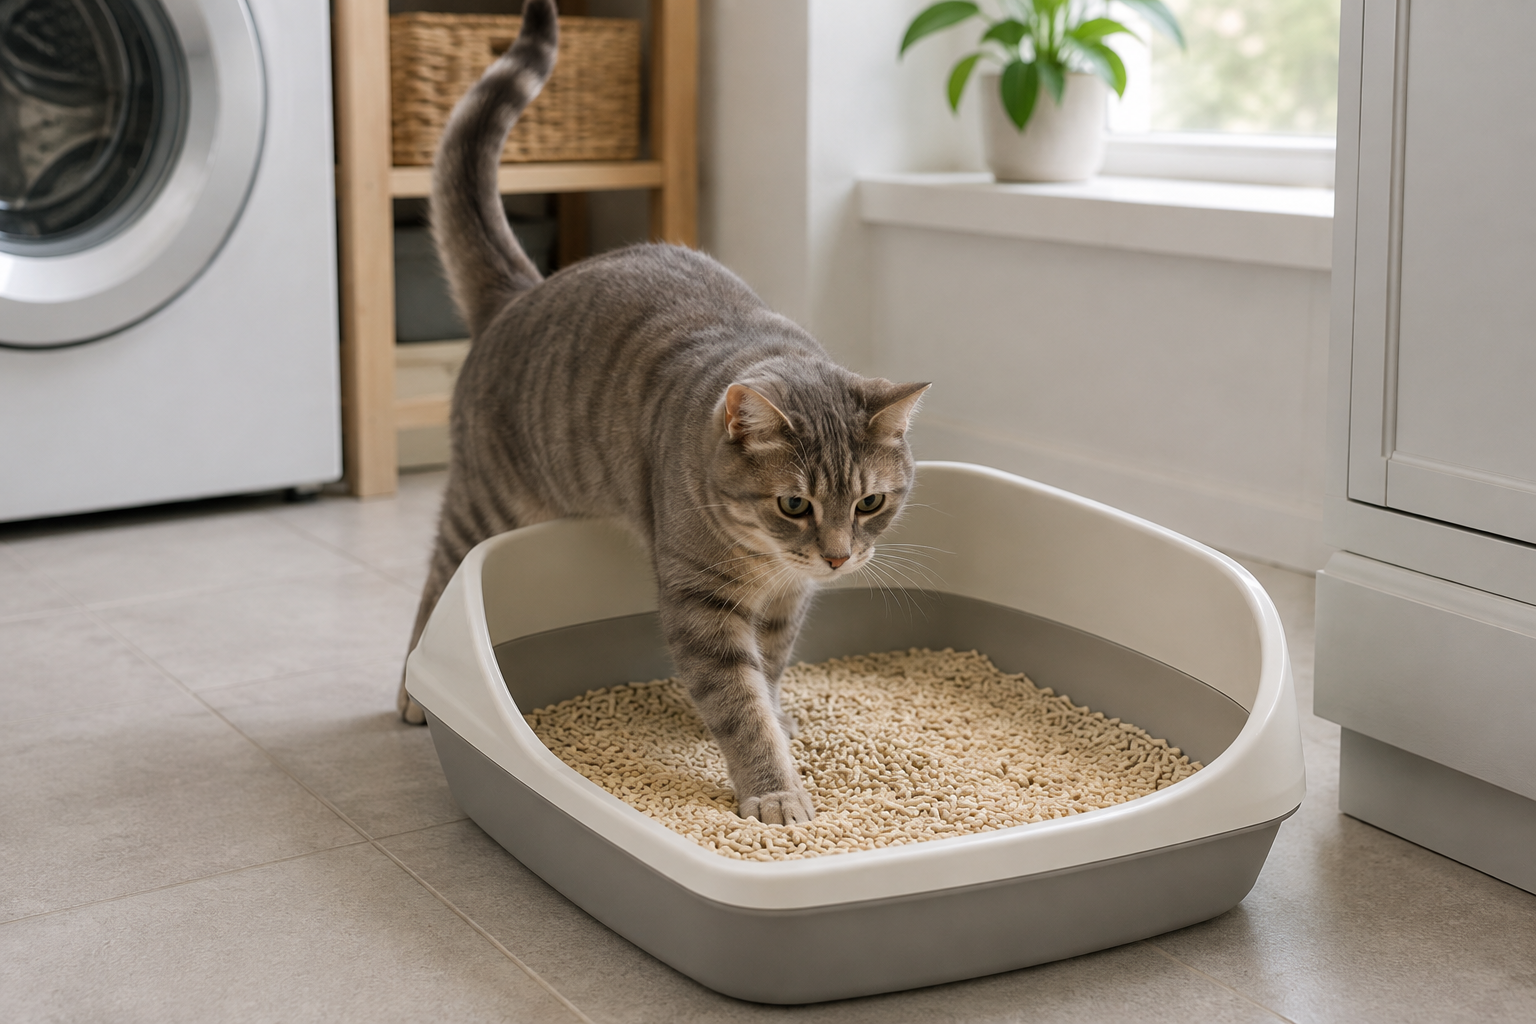
The empty spot tells part of the story that the scoop cannot. Look for wet paste, small contaminated granules, and a film stuck to the base.
Heavy residue can create odor later even when the main clump looked firm. Bottom sticking also makes routine cleaning harder and can cause users to apply excessive force, breaking nearby clumps.
Score tray release separately from clump hardness. A very hard clump that adheres strongly is not necessarily the best customer experience.
Measure clean-litter loss
A wide clump may be strong but inefficient. Weigh the dry litter before the test and the removed clump afterward, or compare the clump size produced by the same liquid volume.
The goal is not always the smallest possible clump. It is a contained clump that removes the wet area without carrying away an unnecessary amount of clean product.
This affects cost per use and how quickly a customer empties the bag. It can be a valuable product advantage, but only if the method is consistent.
Repeat the test across the sample bag
Take material from the top, middle, and bottom. Fine particles can settle during shipping, especially in mixed formulas. If the last portion of the bag clumps differently from the first, customers will notice.
Run at least several repetitions per sample. An isolated excellent result can happen by chance. Buyers need to know the normal result and the degree of variation.
For a bulk order, compare more than one production batch when possible. The cat litter sample order guide explains how to connect sample testing with supplier approval.
Compare materials fairly
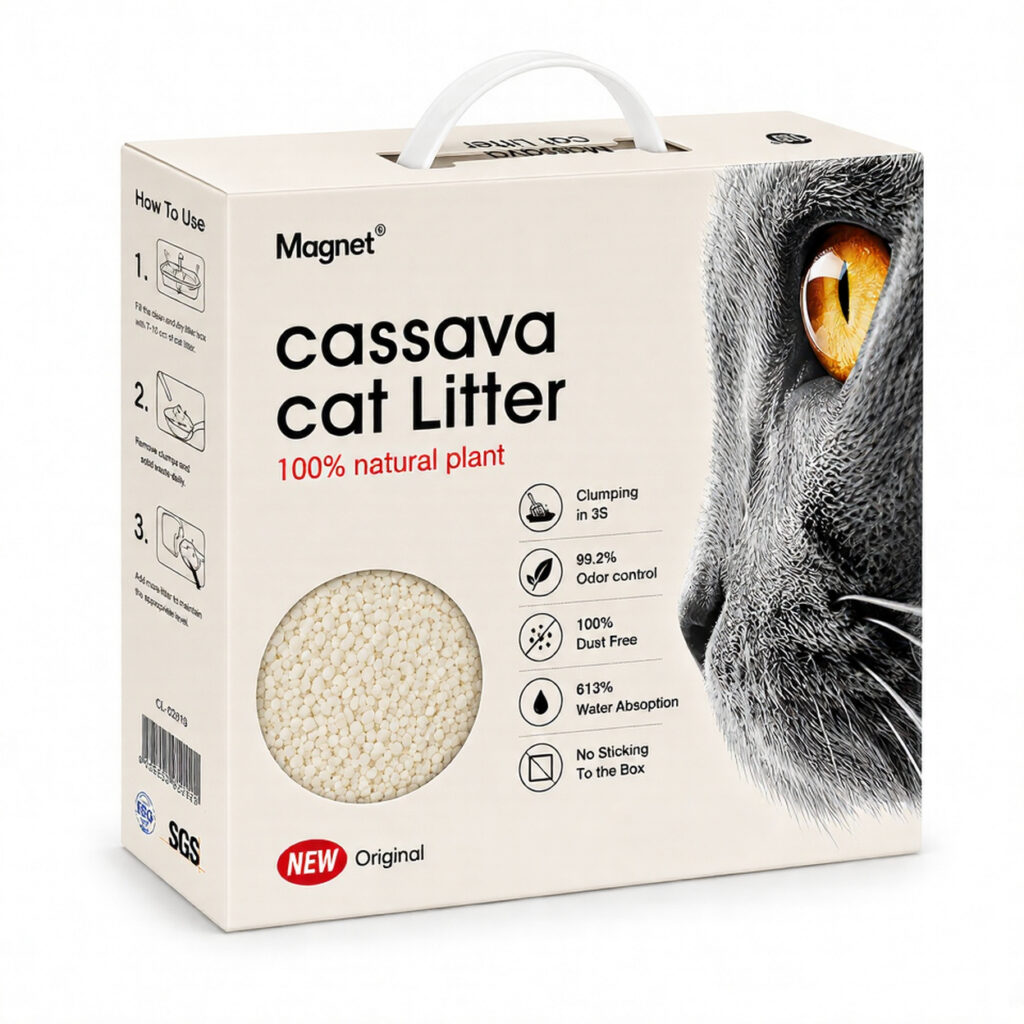
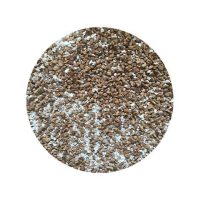
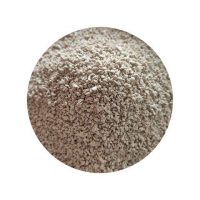
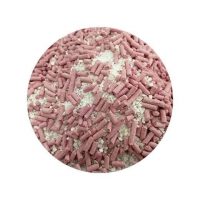
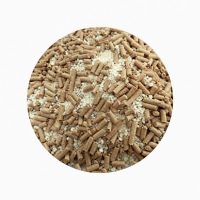
Bentonite, tofu, cassava, and mixed litter do not form identical-looking clumps. Clay may create a dense mineral mass. Tofu pellets can remain visible on the surface. Fine cassava may form a compact light-coloured clump.
Judge performance, not appearance alone. Use the same functional criteria for every clumping cat litter type: lift, breakage, residue, sticking, and clean-litter loss.
If a pellet formula needs a different scoop opening, note that as part of the customer experience rather than quietly changing tools during the comparison.
Test after storage and handling
Fresh litter can perform differently after weeks in a warehouse. Moisture exposure, pellet breakage, and settling may change clumping.
Keep a sealed sample and an opened sample. Retest after a defined period. Handle another sealed pack to simulate transport and check whether fines increase.
For private label buyers, test the product in the intended retail bag. Packaging is part of quality control because it protects the formula the customer receives.
Turn observations into an order specification
The final test should produce measurable acceptance points. Include litter depth, liquid volume, setting time, test temperature if relevant, scoop method, and acceptable result.
A purchase specification might define maximum breakage, acceptable tray residue, dust level, moisture, granule size, and filled bag tolerance. Keep the approved sample with the record.
Avoid relying on phrases such as strong clumping or premium quality. They are useful marketing language but weak production instructions.
Keep the test honest and practical
The purpose of testing is not to create a perfect social media video. It is to predict complaints and repeat purchase. Use ordinary trays, realistic litter depth, and the same scoop a customer is likely to own.
Share specific findings with the supplier. Say that a clump breaks after lifting, sticks at shallow depth, or carries away too much clean litter. Clear feedback makes formula adjustment faster.
Once the product passes a repeatable cat litter clump strength test, connect the approved result to the quotation, packaging, and production agreement. That is how a promising sample becomes a dependable wholesale SKU.
FAQ
How long should cat litter sit before a clump test?
Use several defined setting times rather than one. A short interval tests immediate scooping, while longer intervals show how the clump develops. Apply the same times to every sample.
Can water be used to test cat litter clumping?
Water is suitable for a practical first comparison if volume, temperature, and application are controlled. Formal factory quality control may use a standardized liquid and a documented method.
What makes a cat litter clump strong?
Material composition, particle size, binder, moisture, absorption speed, and contact area all affect strength. The useful result is a clump that lifts cleanly with limited residue and clean-litter loss.
Why does cat litter stick to the bottom of the tray?
Sticking can occur when liquid reaches the tray before a stable clump forms or when softened material adheres to the surface. Litter depth, formula, particle size, and setting time all influence it.
How many times should a wholesale sample be tested?
Run several repetitions using material from different parts of the bag. For important orders, compare more than one production batch and retest after storage or transport handling.
Article summary: A useful clump test controls litter depth, liquid amount, application height, setting time, and scoop method. Buyers should measure what happens during lifting, not only how quickly a clump appears.
Request Cat Litter Samples for Testing
Magnet can prepare bentonite, tofu, cassava, and mixed litter samples for side-by-side clumping evaluation before wholesale or private label production.
Request Test Samples